Install Linux By BIOS On Window Machine
💡 This post is insightful for the following scenarios.
- Install System
- Enter BIOS
- Install Linux
Background
The long term use of the virtual machine took up my macOS system resources, so I considered using the small server I purchased to install ubuntu (16+512). 🤔️
Step
0. Preparation
Firstly, you should have a window machine.
Then, you should know the way to enter your machine BIOS. Generally speaking, different computers have very different ways of turning on the BIOS. Therefore, you’d better ask your computer provider or related technical support.
Last, you should have a USB flash drive (at least 8g).
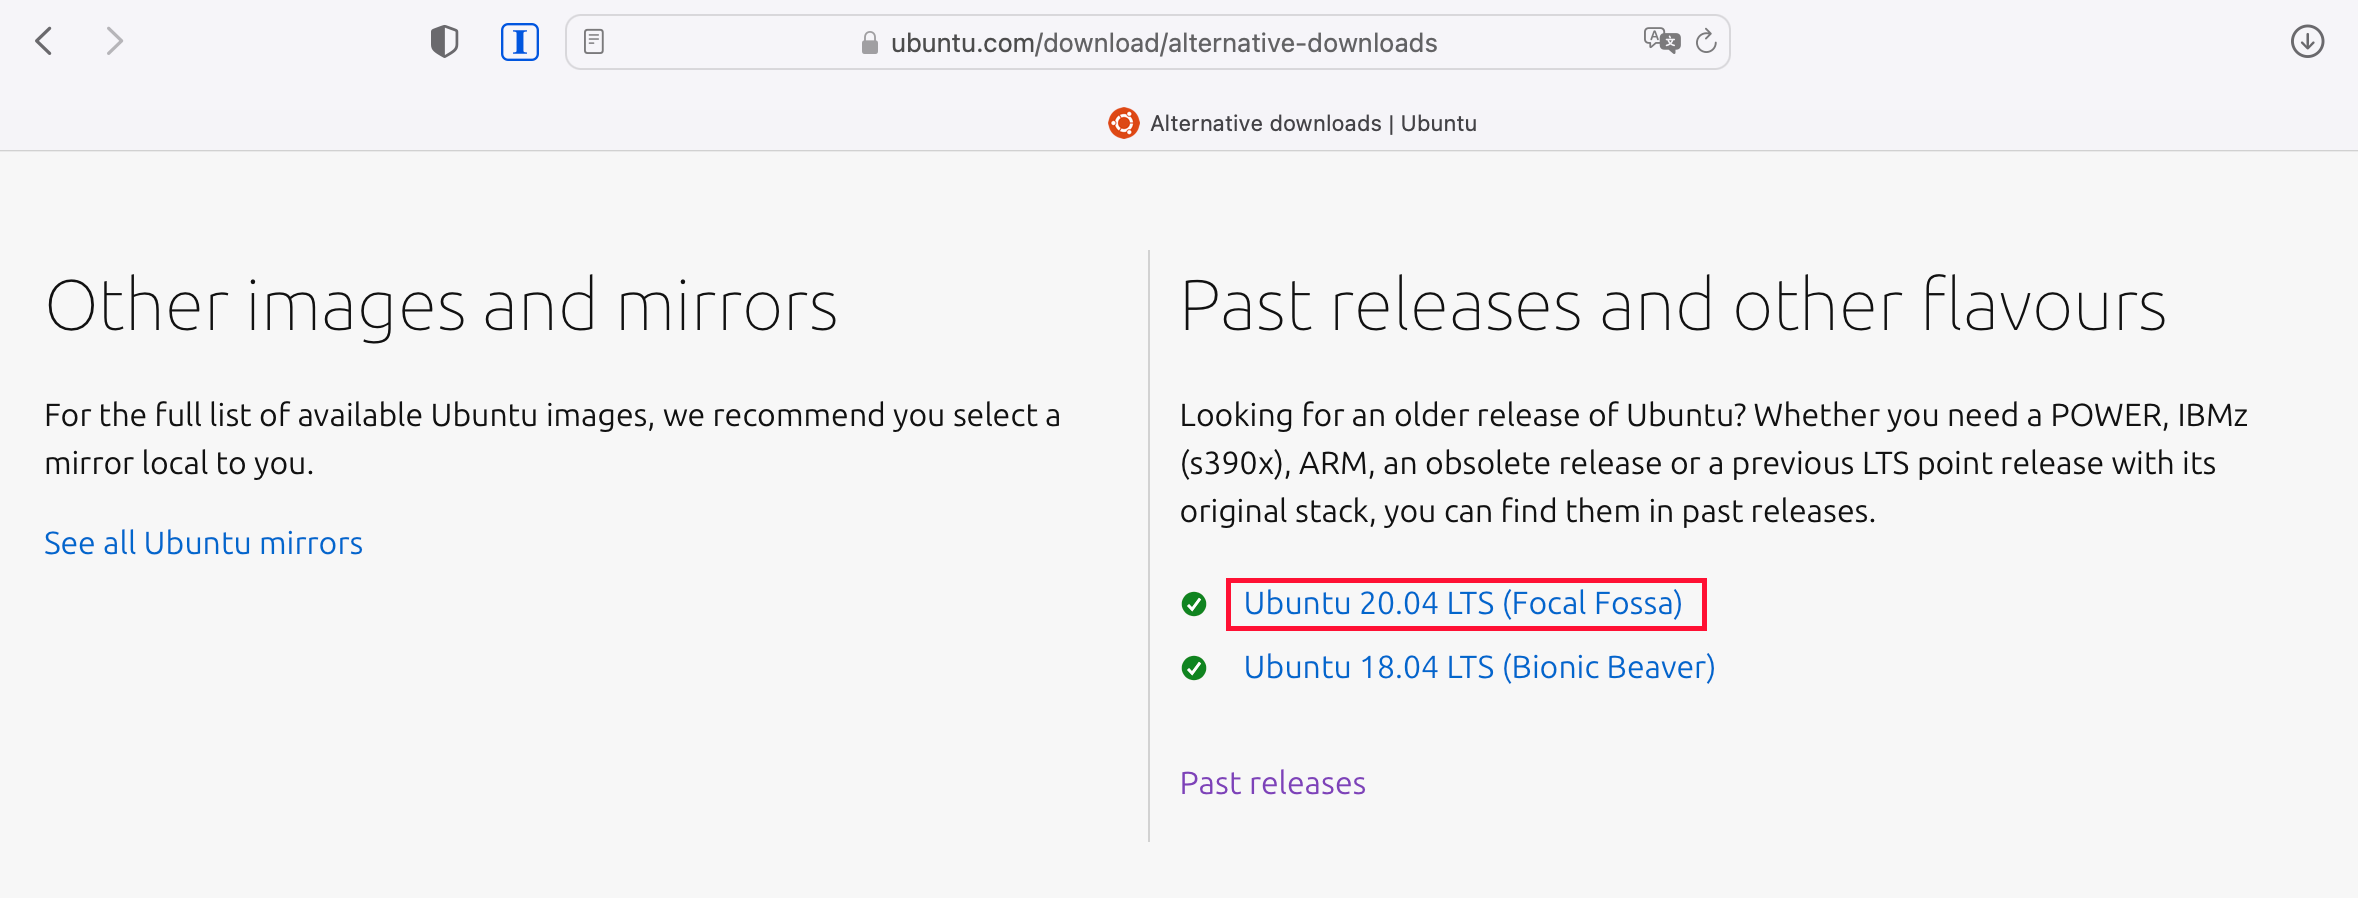
1. Intall an Ubuntu image
Click this page to download the Ubuntu you want. As I want to download 20.04 LTS, I need to go to alternative page to search.
2. Create a bootable USB stick
Use balenaEtcher to create bootable USB stick. You should select your .iso file and your USB flash drive. It may take about 5mins.
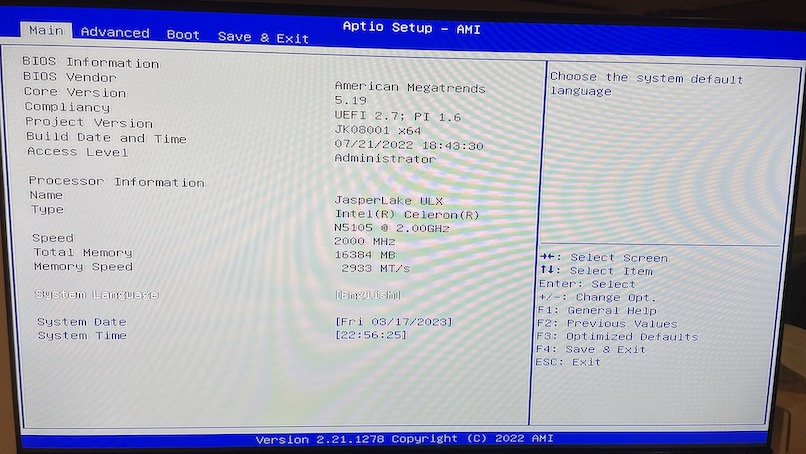
3. Enter your machine BIOS
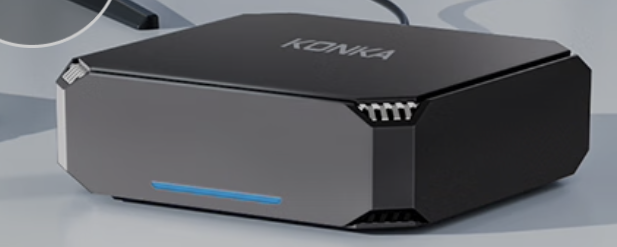
My computer is made from KNOKA.

The way to enter its BIOS is to KEEP CLICKING “Delete” BUTTON UNTIL BIOS SHOW UP.
So, what you should do now is
- Turn off your machine
- Insert your bootable USB stick
- Enter BIOS
When you finish it, you should see the BIOS (1980s style of GUI 🥸).
4. Boot from your USB stick
Selete the USB stick and move to the highest priority (Boot Option #1).

5. Install your Ubuntu
Just do what you want
6. Turn on your Wi-Fi adapter (optional)
Some times you may find that you can’t use the Wi-Fi after successful installation 🤡, this may be due to the Wi-Fi driver or system first installation. I solved it by the following command.
(Sadly, you need to connect to the Internet first if you want to use Wi-Fi module, like wired connection or wireless network USB)
1 | sudo apt update |
Then, restart your system.
7. Turn on your Ubuntu Software (optional)
Some times you may find that your Ubuntu Software market is nearly empty 🤡. I solved it by the following command.
1 | sudo apt update |
8. Ture on Chinese language (optional)
- Setting -> Language and Region -> Manage Installed Languages -> Install / Remove Language -> Click Chinese (Simplified), then install whatever it needed
- Setting -> Language and Region -> Input Sources -> “+” > Chinses > Chinses (Intelligent Pinyin)
9. Enjoy your new Ubuntu system!
Reference
Thanks to the following articles guidance: